Today I decided it was high time to bring home a guest post I shared at Project Run & Play. I adore the infant peasant dress, and this is one of my favorite ways to make them.

Hello! I'm Maegen, and I am extremely excited to be guest posting today! I blog over at Foster Ramblings, though blog posts have been sparse during my first trimester. I have one sweet little boy, who I love to sew for, but we're hoping baby #2 is a girl, seeing as I spend so much of my time sewing dresses.
I have been following Project Run and Play since season 3, and decided right away I wanted to get in on the fun. During the All-Stars season I was shocked and excited by my win with my Starry Night inspired dress.

But before the time commitment this sort of embroidery requires scares you away, today I'll actually be sharing a tutorial based on one of my other sew along looks.

That little orange gingham number in the bottom middle. The consensus has been that this dress is the favorite. My husband definitely loves it. So I'm going to share with you how I altered one of my favorite patterns to make it.

The pattern is Sew Much Ado's Infant Peasant Dress. I love this pattern! I've probably made 20 of these adorable little dresses. But, the tiny little elastic casings for the sleeves are very time consuming. So I created an alternative sleeve.

Alright, to start off, you'll cut out your front and back pieces in your base fabric. I used a muslin that is extremely wrinkly.

Then you'll cut out a front and back of your top fabric using only the top part of the dress pattern. The bottom of my fabric is about 8 inches up from the bottom of the pattern piece. You'll need to put a small hem in the bottom of this piece right away.

Lastly, cut two sleeve pieces. These are just rectangles. I've had success with sleeves that are 4 X 3 1/2 inches, 4 X 4 inches, and 4 X 5 inches. I did not have success with a sleeve set that was 4 X 9 inches. Anything bigger than 5 inches stretches the neck out too far.

Take a sleeve piece and fold it in half with right sides out. (the finished sleeve will be 2 inches long). Then pin one side to the top of your dress piece, also right sides together.

Take your shorter dress piece and pin it on top of the sleeve and other dress piece. Right sides together. Your sleeve is sandwiched between the dress pieces.

Here's a view of the sleeve pinned in place.

And after it has been sewn. You don't need to sew down the sides of the dress at this point-- just around the armhole.

Pin the other side of your sleeve to the other two dress pieces and sew along the armhole.

It seems weird, but it should turn out. Don't be discouraged if you get things twisted.

You'll want to repeat those steps with your other sleeve. The hardest part is sewing the last sleeve in place. One side of the dress will be hanging out from between the pieces of the other side. Like in the picture above.

Top stitch your contrasting piece to your base piece, and the hard stuff is done! From here on out, you'll follow the original tutorial.


My little model wasn't very happy for pictures at first, but after a change of diaper and a change of outfit, we got some cute shots.
Here's Charlotte in a simplified version of the sleeve, without the lined bodice.

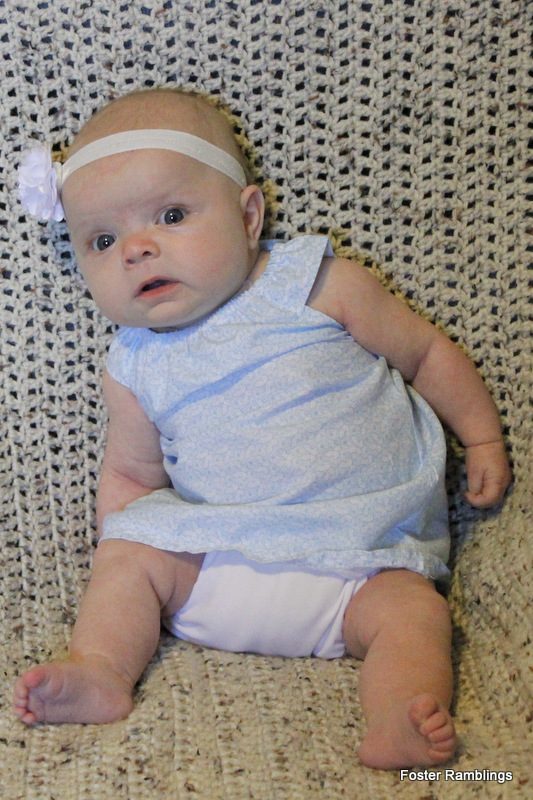
Head on over to my blog for a little more information on this little blue dress.
Thanks for having me, I can't wait for next season!

No comments:
Post a Comment
This blog is no longer active
Note: Only a member of this blog may post a comment.